Scenarios
Scenarios are collections of user inputs (e.g. user uploads, tags, and rate-based assumptions) to apply in the simulation. A scenario is intended to express one set of expectations or possibilities around demographic, economic, and policy change.
Example of a scenario
A transit-focused, high growth scenario might include aggressive growth rates or control totals, transit-centered developments, constraints, and adjustments, and travel model skims from a travel demand model run that incorporates many transit network improvements.
Creating a new scenario
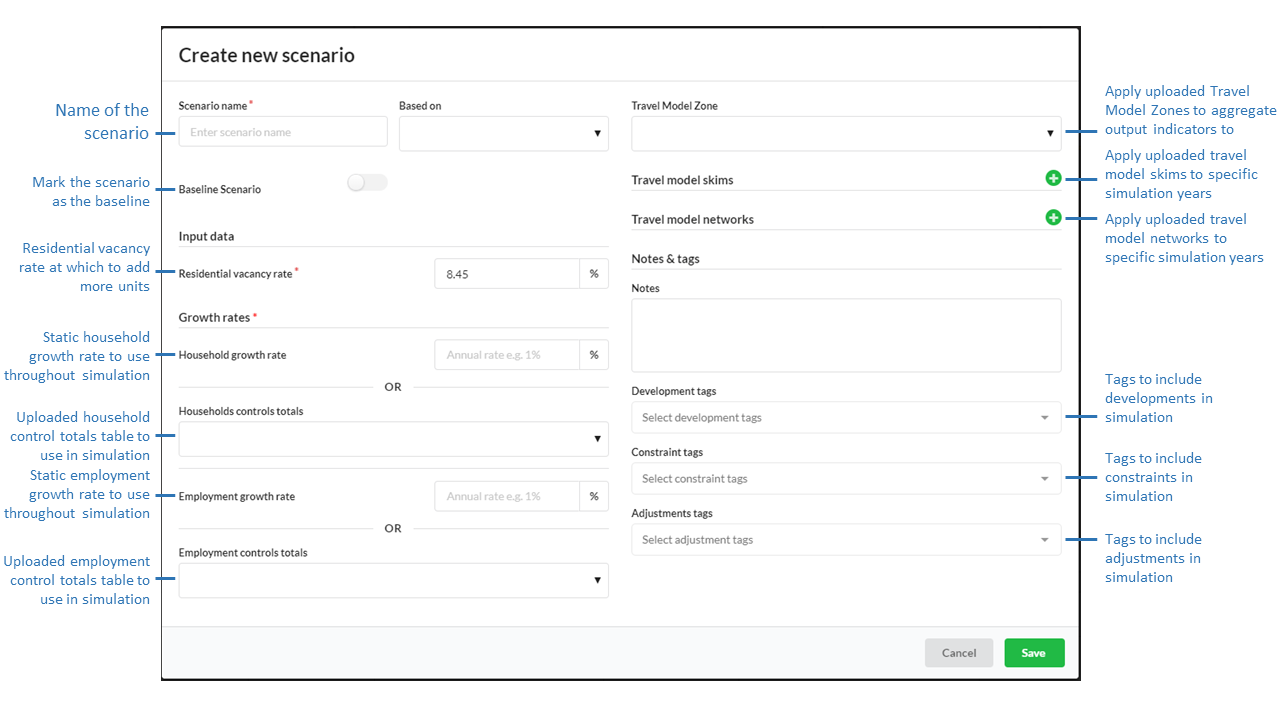
Name (Required)
The name of the scenario should be distinct.
Based on
New scenarios can be based on existing records to quickly create or edit new scenarios.
Note
The records available in the Based On dropdown menu currently only shows the names of records that are visible to you in the first page of your table of records. If you do not see a record in the list that you would like to use for Based On, use the table search or filter functions to first create a view of records in the table for which you want to have available in the Based On dropdown menu. This is designed to limit the number of records that appear in the dropdown menu when there are voluminous numbers of records in your table.
Baseline (Optional)
If you are creating a baseline scenario, you can indicate this by clicking the baseline scenario button.
Vacancy rate (Required)
The simulation will add residential units when residential vacancy drops below the rate specified in the scenario form. The default vacancy rate is based on residential vacancy in the base year data and can be changed by request by contacting us here. Vacancy rate must be greater than 0 and expressed as a percentage.
Growth rates or control totals tables (Required)
If a growth rate (expressed as a percentage) is specified, year-on-year growth of households or jobs will occur at the specified rate.
If a control totals table is specified, growth will adhere to the totals supplied in that table.
Travel Model Zones (Optional)
Travel Model Zones are not required but uploaded Travel Model Zones can be added and used to aggregate the resulting simulation indicators to for viewing on the map or download as CSV. Indicators generated for user uploaded TAZ geometries are displayed in the map layer as “Zones”.
Travel Model Skims (Optional)
Skims are not required but uploaded skims tables can be added and used to inform accessibility-based explanatory variables or indicators. Each skim will be used starting in the start year specified until the model end year or will be replaced by a skim specified to start in a later year. See [1].
Travel Model Networks (Optional)
Networks are not required but uploaded network tables can be added and used to inform accessibility-based explanatory variables or indicators. Each network will be used starting in the start year specified until the model end year or will be replaced by a network specified to start in a later year. You may also use this scenario option to replace the default base data OpenStreetMap network provided by UrbanSim. Note that total-simulation run times may increase with the use of fine resolution networks. See [1].
Tags (Optional)
Tags are not required, however tags are needed in order to use any development, constraint, and adjustment records. Multiple tags of each category can be added. Development, constraint, and adjustment records bearing the selected tags will be used in the simulation. If no tags are specified no records will be utilized.
For development projects in the zone model, you may also use special tags to automatically include all development projects that have a specific status set as: “Committed”, “Proposed”, “Completed”. To do this, first create development tags with those names, and then include the relevant tag in the scenario where you want to filter developments in simulation by status. These special development tags can be used in conjunction with regular development tags.
Editing an existing scenario
Select the scenario to edit from the scenarios table and click on its edit icon.
Edit any fields necessary and click Save.
Deleting an existing scenario
Note
At this time you are unable to undo a deletion.

Select the scenario to delete from the scenarios table and click on its edit icon.
Click Delete at the bottom of the form and confirm the deletion.
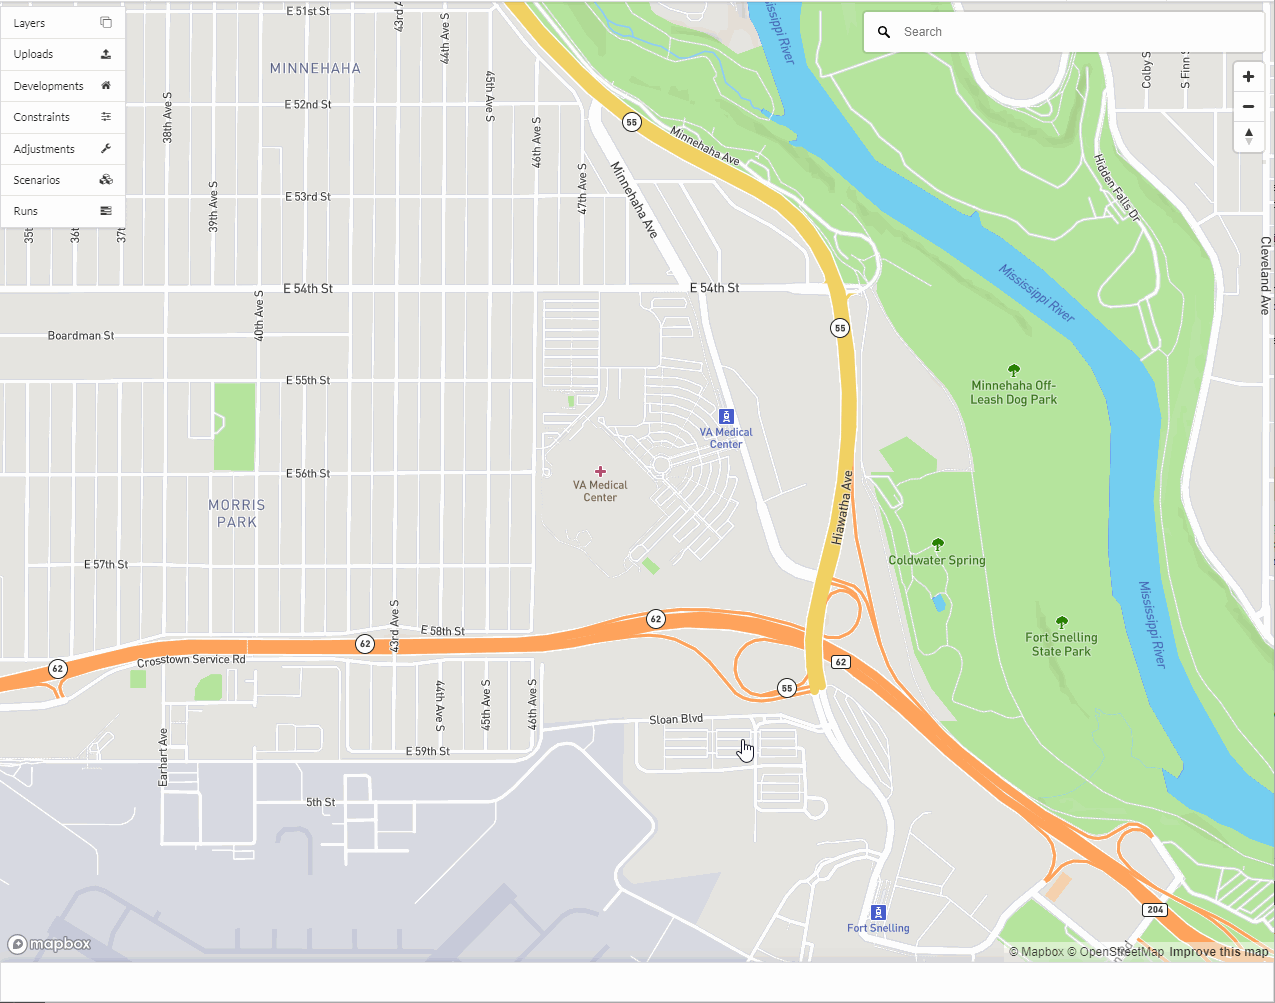
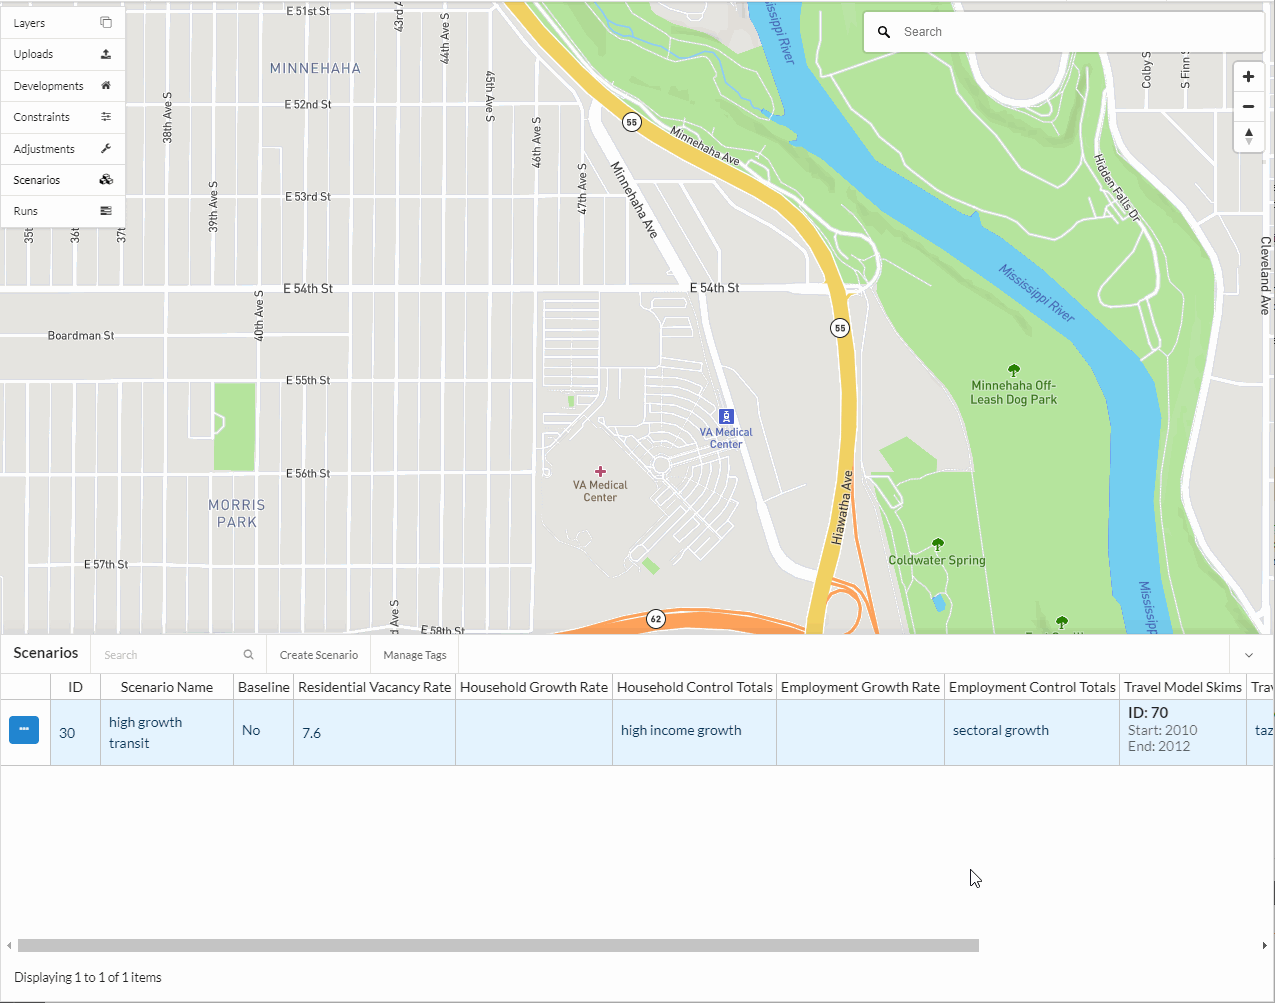
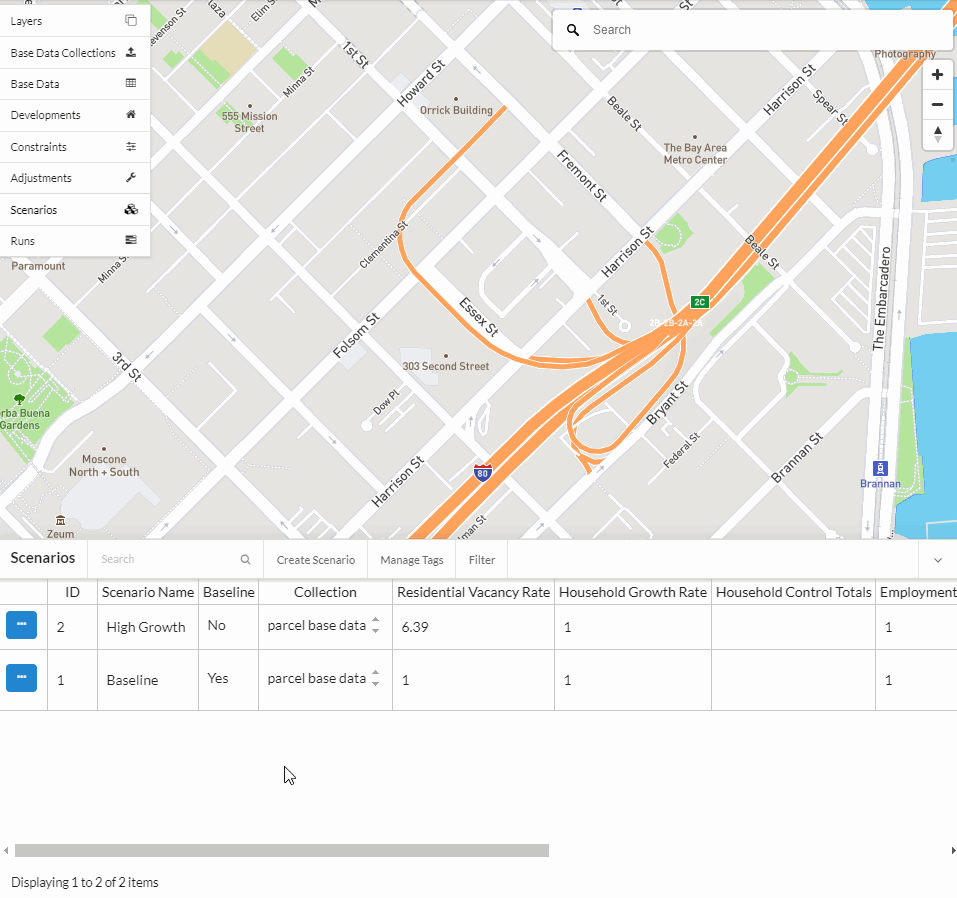
Viewing scenario inputs on the map
To view all the development projects, constraints, and adjustments that a scenario utilizes on the map, you may click the blue action button next to the scenario record you want to view and select “View data on map”. You are also able to filter development projects, constraints, and adjustments in their respective tabs by scenario name by using the filter feature.
Notes